


Securing your website with an SSL certificate is one of the smartest moves you can make for your business and your visitors. With SSL, you get that reassuring padlock in the browser, encrypted data, and a boost in trust. Here’s how you can get set up—and why Tremhost is a fantastic partner for the job.
1. Choose Your SSL Certificate Provider
While there are plenty of SSL providers out there, going with a reliable, customer-focused company like Tremhost keeps things simple. Tremhost offers a range of SSL certificates—from basic domain validation to premium wildcard options—so you can find the perfect fit for your needs.
Why Tremhost?
- 24/7 support to walk you through installation
- Affordable pricing and multiple certificate options
- Fast issuance, often within minutes
- Easy-to-follow instructions for any website platform
2. Purchase Your SSL Certificate
Head over to Tremhost’s SSL page and pick the certificate that matches your site.
- Fill out a simple form.
- Complete your purchase—easy as that!
- You’ll receive instructions and all the files you need by email.
3. Generate a Certificate Signing Request (CSR)
Most hosts (Tremhost included) make this step straightforward:
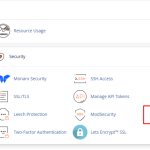
- Log in to your hosting control panel (like cPanel at Tremhost).
- Look for “SSL/TLS” and select “Generate CSR.”
- Enter your site details and submit.
- Copy the CSR code you receive—it’s needed to activate your certificate.
4. Activate Your SSL Certificate
- Paste your CSR into the Tremhost SSL activation form.
- Complete any required domain validation (usually just clicking a link they email you).
- Wait for your SSL files (CRT, CA Bundle, etc.)—these typically arrive within minutes.
5. Install the Certificate on Your Site
Still in your Tremhost control panel:
- Go to “SSL/TLS.”
- Click “Manage SSL Sites” and choose your domain.
- Paste in the CRT and CA Bundle files (Tremhost’s support guides make this painless).
- Click “Install Certificate.”
6. Force HTTPS and Update Your Site
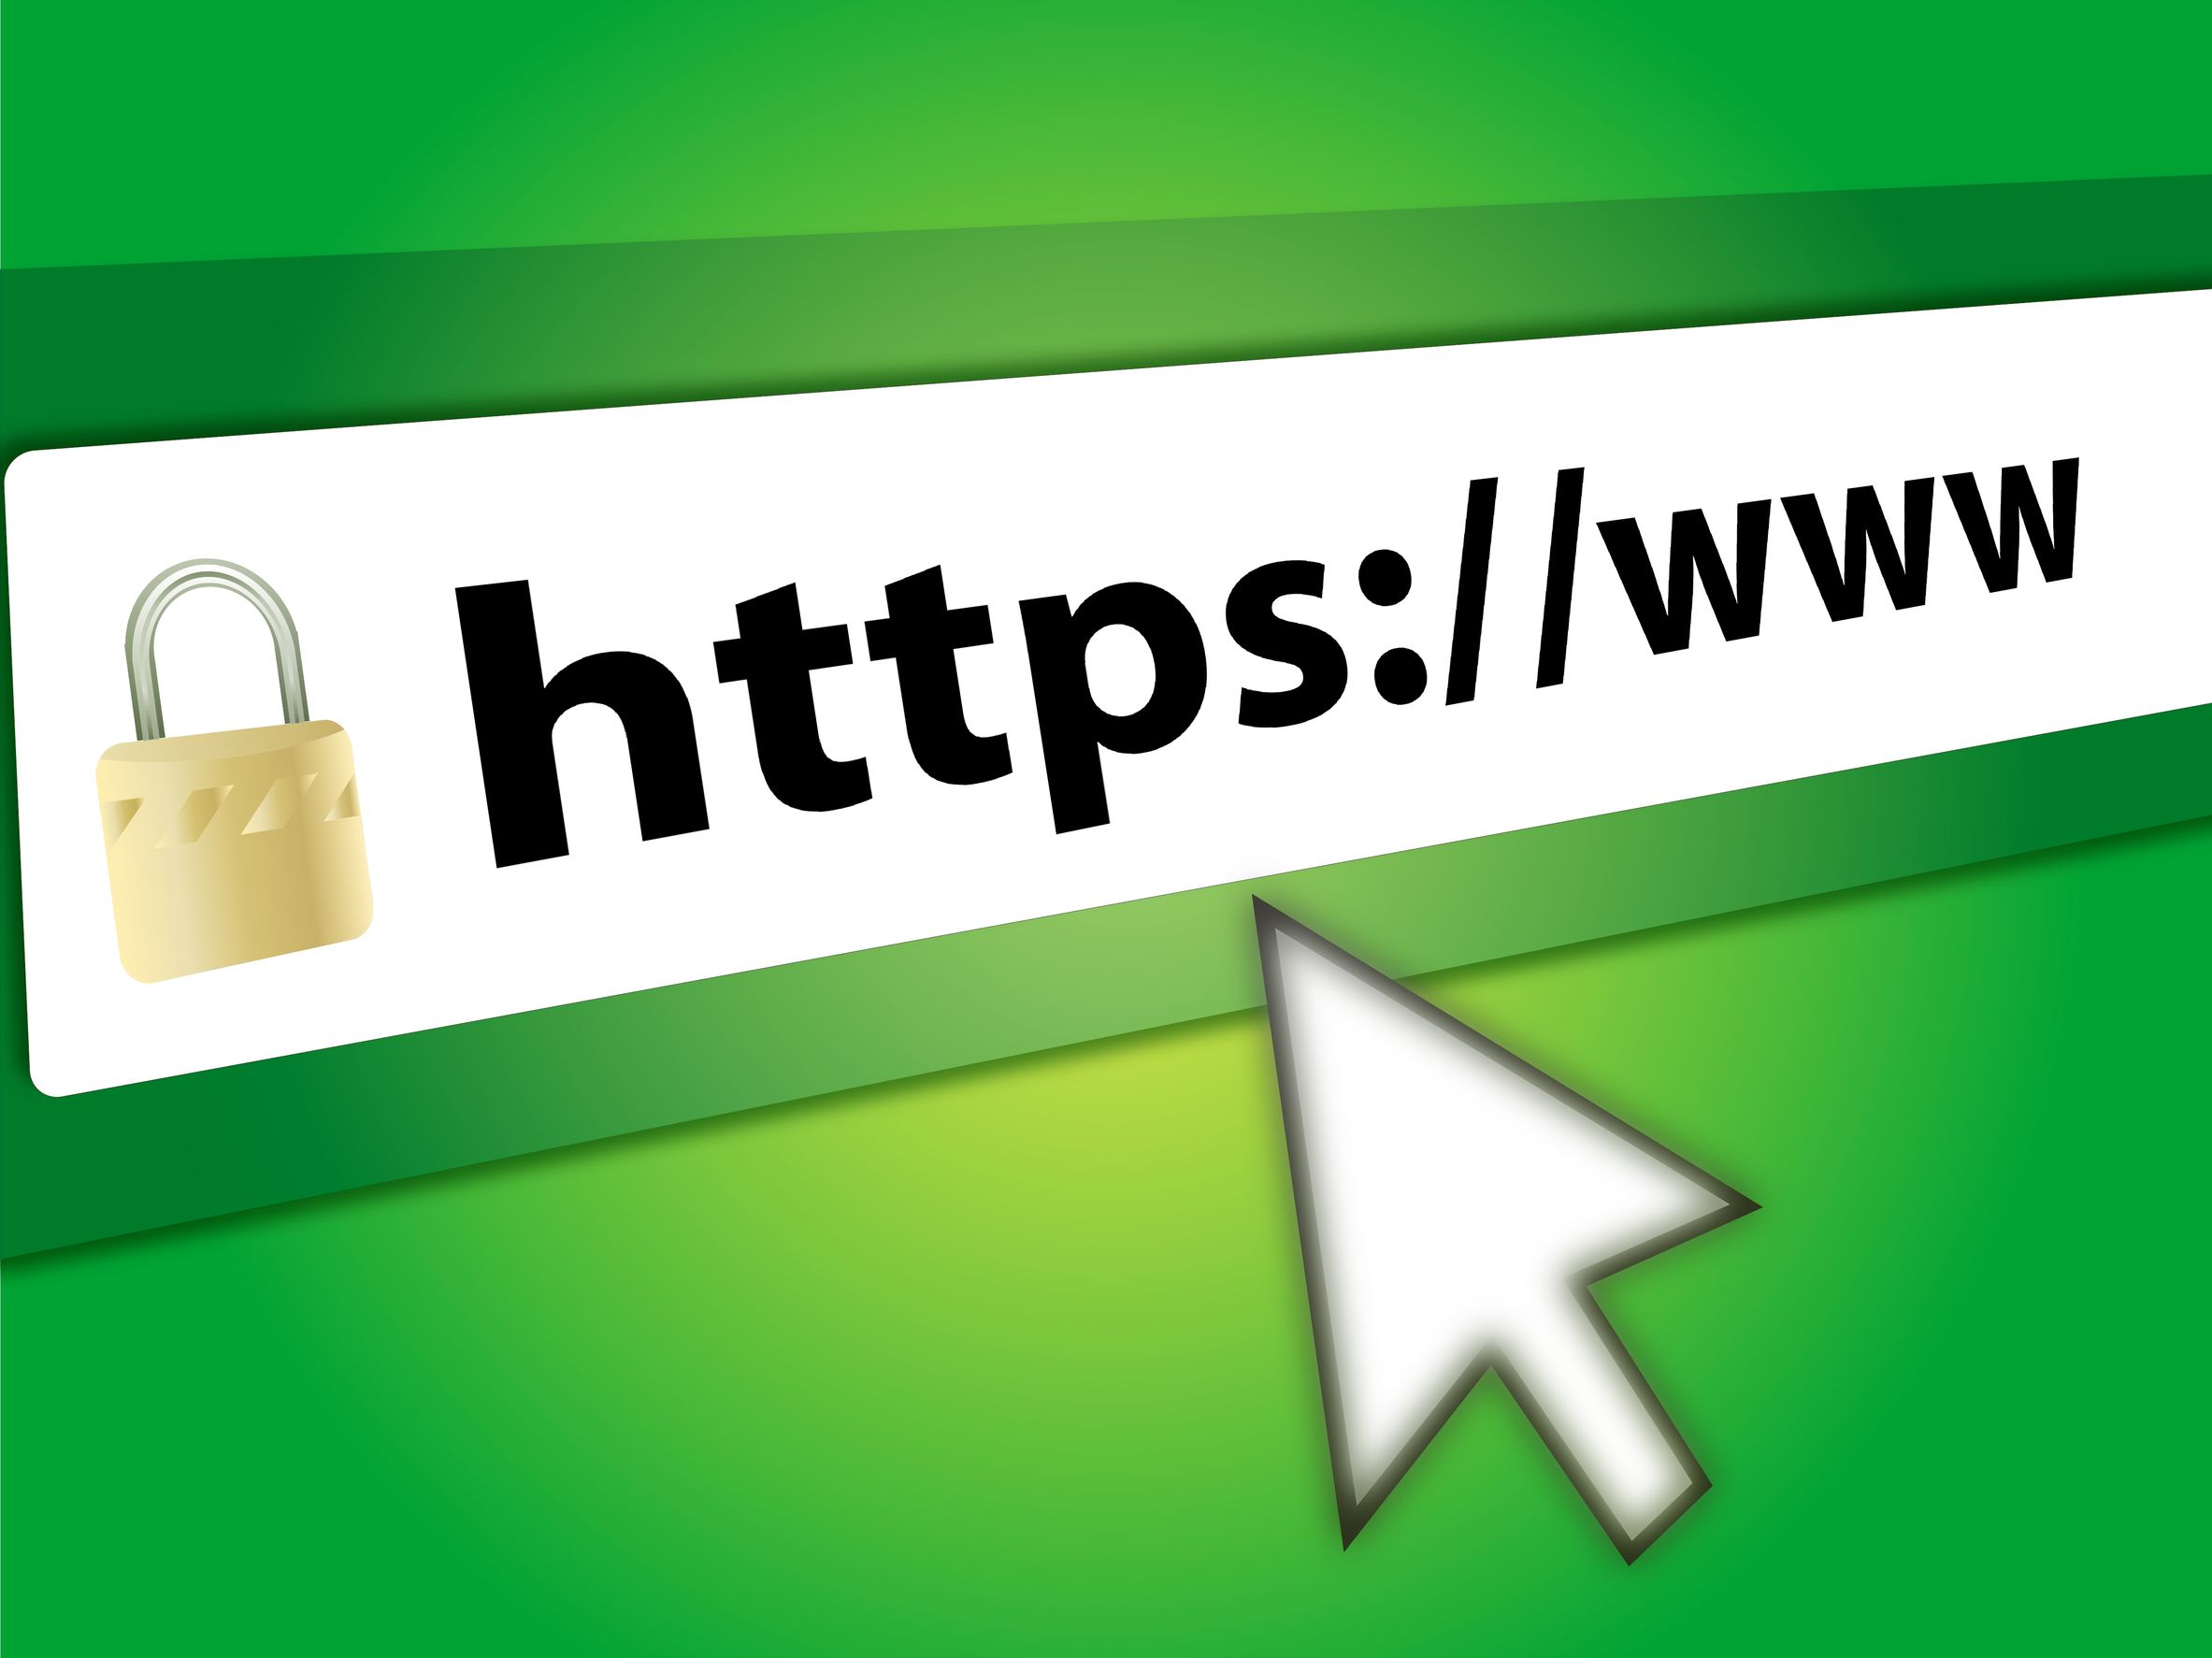
- In WordPress, update your site address to “https://”.
- Use a plugin or .htaccess rule to redirect all traffic to the secure version.
- Double-check your site for the padlock and use an SSL checker (like SSL Labs) to confirm everything is working.
7. Enjoy Peace of Mind
With SSL from Tremhost, your site is now secure, your visitors are protected, and your business looks more trustworthy than ever. Plus, if you hit a snag, Tremhost’s support team is there to help—day or night.
Ready to get started?
Check out Tremhost’s SSL options and give your website the security (and credibility) it deserves today.

